 |
|
 |
How to Build Your Own PC - Save A Buck And Learn A Lot 9 Chapter 3: Installing the CPU, Heatsink, and RAM On The Mainboard 9 Installing the Heatsink/Fan |
|


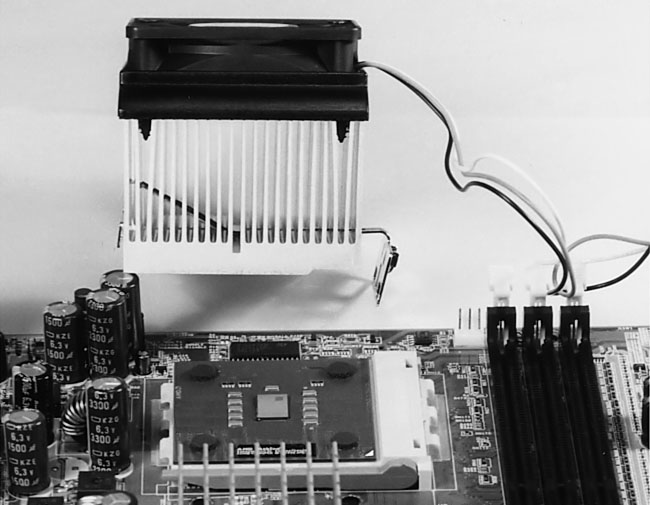
Securing the Heatsink Clip
The heatsink clip is made of spring steel and its tension holds the heatsink firmly against the CPU (see Figure 34).
|
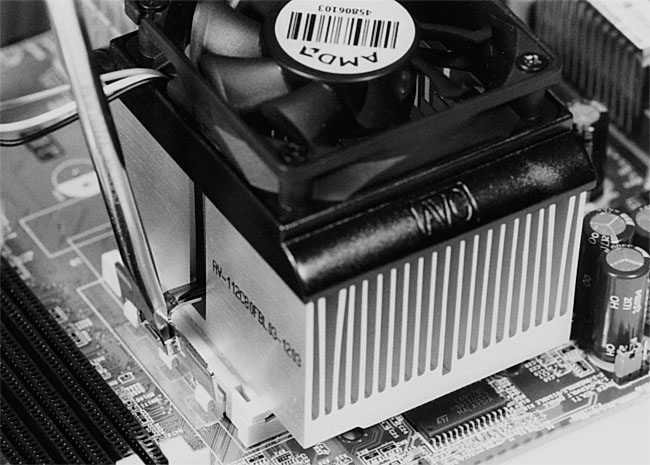
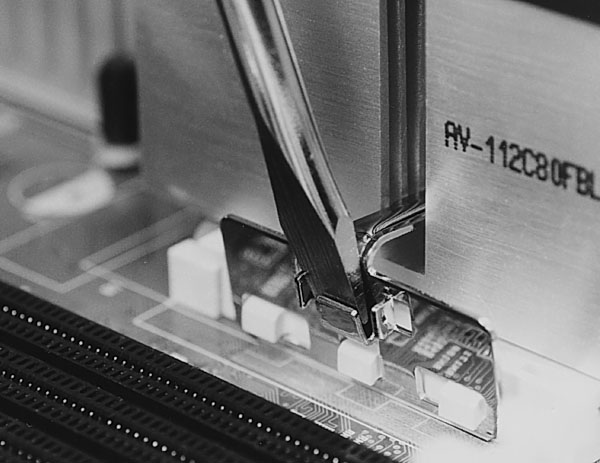
Use a flat-head screwdriver or “other appropriate tool” to secure the clip to the other side of the CPU socket. Place the screwdriver into the clip opening for it and gently push down and slightly away from the CPU socket, allowing the clip to clear the three notches of the CPU socket. Then, push the clip back toward the socket, engaging the three notches (see Figure 35 and Figure 36).
|
|
If you read the AMD instructions for installing the Athlon, they say to use the “appropriate tool” to secure the clip, but they give absolutely no clue as to what that tool is. Pliers? Hammer? Power Drill? Weed Eater?
The heatsink here seems to have a natural affinity for a flat-head screwdriver, and that tool works well here, so it’s the one we’ll use. Be careful so that the tool doesn’t slip and damage the mainboard. Don’t use an “inappropriate” tool which you think might slip.
The AMD heatsink puts considerable force on the notches that the heatsink locks into. Because of this, be gentle when using the screwdriver to push down and lock in the heatsink. Don’t push the lever much farther down than necessary to secure the heatsink.
|
Home - Table Of Contents - Contact Us
How to Build Your Own PC (/byop/) on PCGuide.com
Version 1.0 - Version Date: May 4, 2005
Adapted with permission from a work created by Charlie Palmer.
PCGuide.com Version © Copyright 2005 Charles M. Kozierok. All Rights Reserved.
Not responsible for any loss resulting from the use of this site.