 |
|
 |
How to Build Your Own PC - Save A Buck And Learn A Lot 9 Chapter 4: Installing The Mainboard In The Case 9 Changing The I/O Shield |
|


Removing the Existing I/O Shield
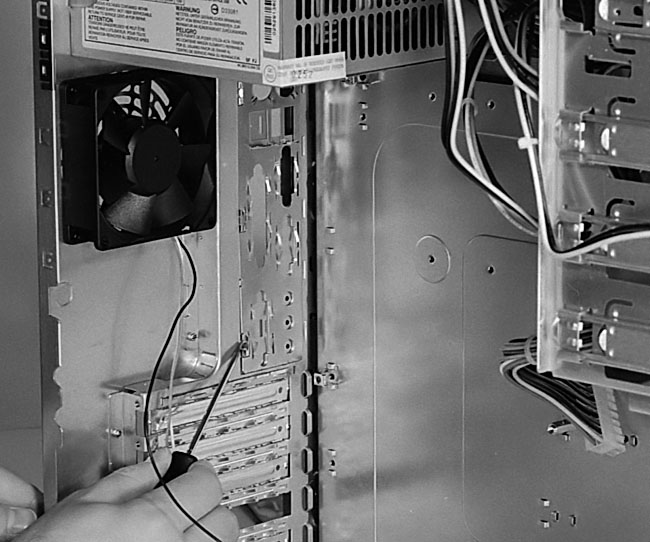
Our first step is to remove the I/O shield that comes with the case, so that we can install the new I/O shield. Many I/O shields are designed to pop into place from the rear of the case. These are removed by pushing them from outside the case back into the case. Sometimes using a small, flat screwdriver to wedge one side of the shield into the slot helps get it started (Figure 57).
|
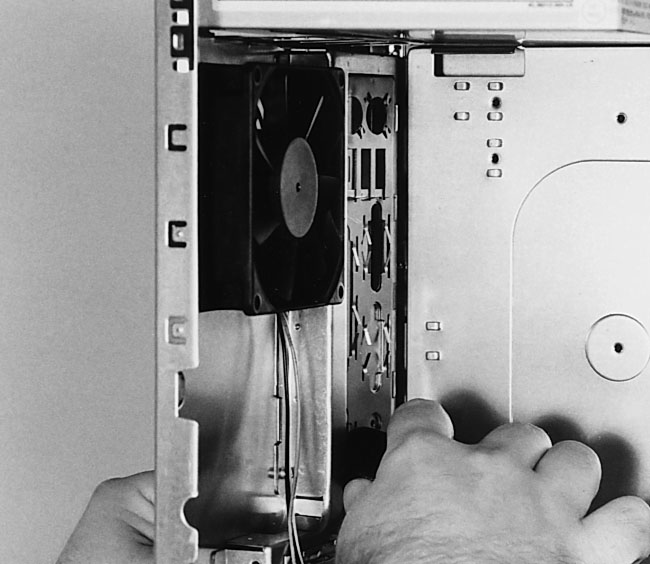
The shield that came with this case is slightly different. It has two sides which are different and is most easily removed by first using a flat screwdriver to push one side of the shield out of the case. Then, the I/O shield can be removed by pushing it from inside the case (Figure 58 and Figure 59).
|
|
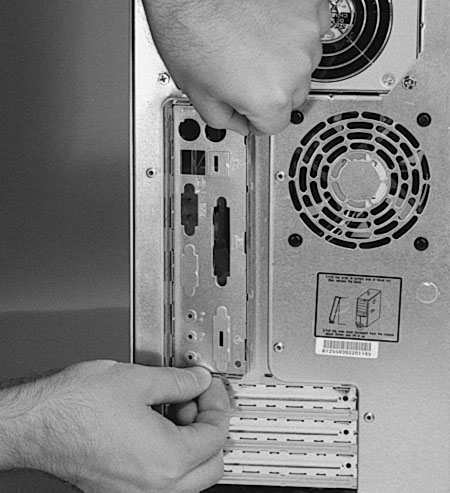
I/O shields are often designed so that the metal at the edges wraps around to give the edges a natural springiness that holds the I/O shield in place. Examine your I/O shield carefully before you start to remove it to help you find the best way to remove it.
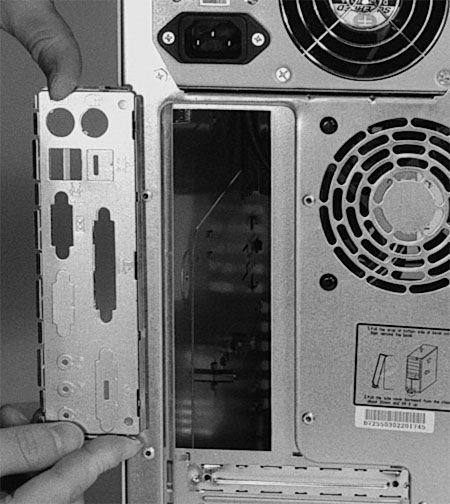
Figure 60 shows the removed I/O shield next to the back of the case.
|
|
Home - Table Of Contents - Contact Us
How to Build Your Own PC (/byop/) on PCGuide.com
Version 1.0 - Version Date: May 4, 2005
Adapted with permission from a work created by Charlie Palmer.
PCGuide.com Version © Copyright 2005 Charles M. Kozierok. All Rights Reserved.
Not responsible for any loss resulting from the use of this site.