 |
|
 |
How to Build Your Own PC - Save A Buck And Learn A Lot 9 Chapter 2: Component Overview 9 Case and Power Supply |
|


Using a Case from an Existing System
If you disassemble an existing system, you might want to make yourself a drawing showing how things were connected, so you’ll be able to reconnect them exactly the same way.
Many builders purchase a new notebook and they keep a diary of their build, recording the steps they take, the components used, and the settings. This helps knowing what was done to the PC and the components and how things were connected. For example, how is the jumper set on your hard drive?
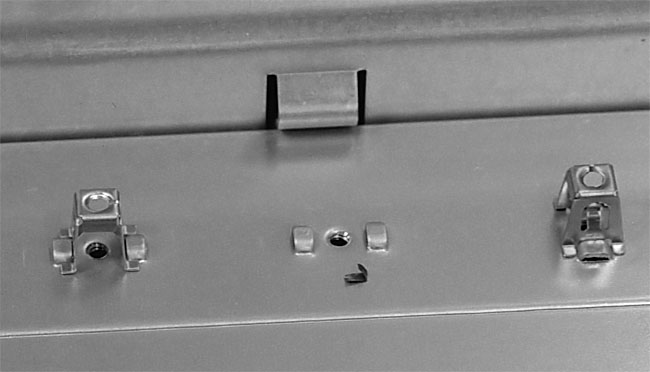
One side of your case will contain an inner panel to which you’ll attach the mainboard with standoffs and a couple of screws (see Figure 12). The panel is predrilled and the drilling patterns for an ATX and an AT mainboard differ.
The standoffs and screws will come with the case. The drilling patterns for an ATX case are designed to match up with any ATX mainboard. That’s the theory, anyway.
|
|
Home - Table Of Contents - Contact Us
How to Build Your Own PC (/byop/) on PCGuide.com
Version 1.0 - Version Date: May 4, 2005
Adapted with permission from a work created by Charlie Palmer.
PCGuide.com Version © Copyright 2005 Charles M. Kozierok. All Rights Reserved.
Not responsible for any loss resulting from the use of this site.