 |
|
 |
How to Build Your Own PC - Save A Buck And Learn A Lot 9 Chapter 6: Connecting Components 9 Connecting the Power Cables |
|


Power to the Mainboard
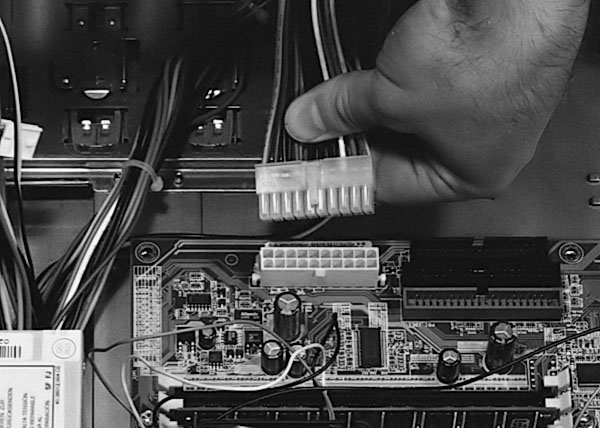
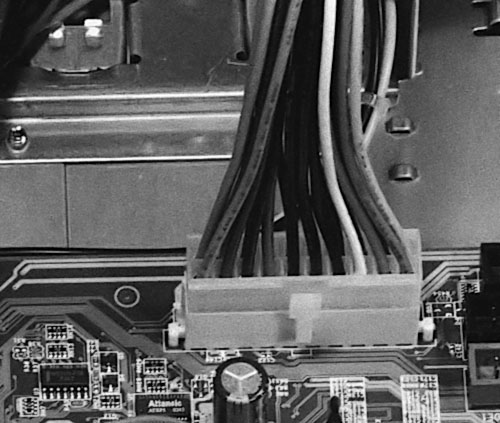
The standard ATX power supply connector is a 20-pin connector (see Figure 8) which can be plugged in correctly by noticing the clip on one side of the connector lines up with a notch on the socket. Push the connector down and it will click into place (Figure 102 and Figure 103).
|
|
Pentium 4 systems also make use of a special four-pin connector (Figure 9). If you’re building a Pentium system, connect the four-pin connector. It also has a clip to help show orientation. If you’re building an Athlon system, you won’t need this four-pin power connector.
When in doubt, examine your mainboard manual to see where power connectors go.
|
Home - Table Of Contents - Contact Us
How to Build Your Own PC (/byop/) on PCGuide.com
Version 1.0 - Version Date: May 4, 2005
Adapted with permission from a work created by Charlie Palmer.
PCGuide.com Version © Copyright 2005 Charles M. Kozierok. All Rights Reserved.
Not responsible for any loss resulting from the use of this site.