Power to Floppy Drive
All other devices, the floppy, hard
drive, CD-RWs, etc., will also need power. The floppy makes use of an
odd looking power connector (Figure 104).
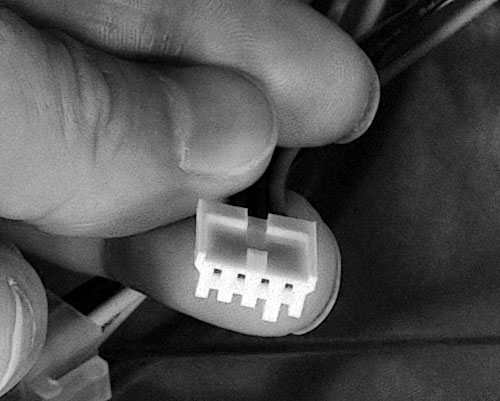
Figure 104: Floppy power connector (here held upside down) The five notches will point upward when it’s installed. One notch sits higher than the others. The bottom of the connector looks a little like the bottom of a space ship with two fins pointing outward.
|
Figure 105
and Figure 106
show the proper orientation of this silly connector. Plug in the connector
as shown in Figure 107.
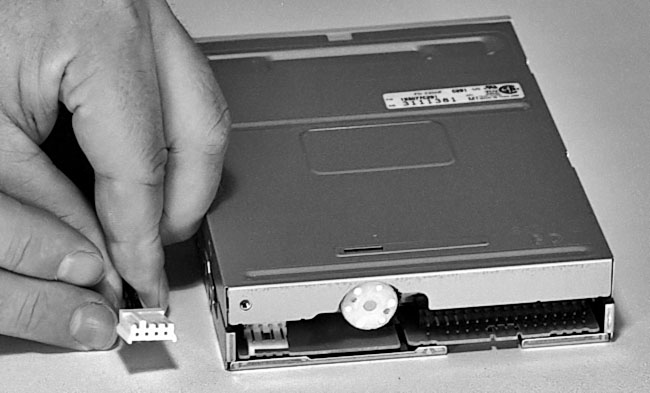
Figure 105: The floppy connector held with the top pointing up and the bottom pointing down This connector will plug into the four pins at the left of the floppy drive. Notice one of the five notches at the top is slightly higher. This is one of the few power connections that can confuse new builders.
|
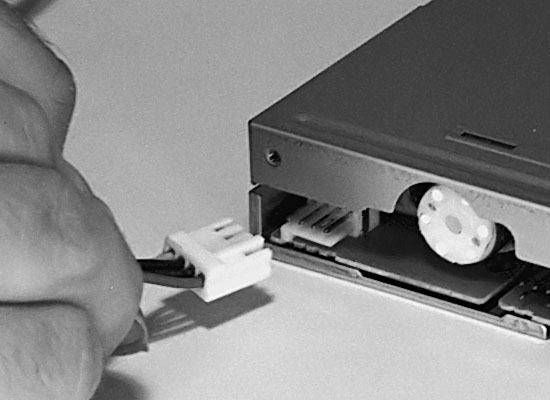
Figure 106: Preparing to install the connector Here we have simply rotated the connector from Figure 105 around to show how it’s installed.
|
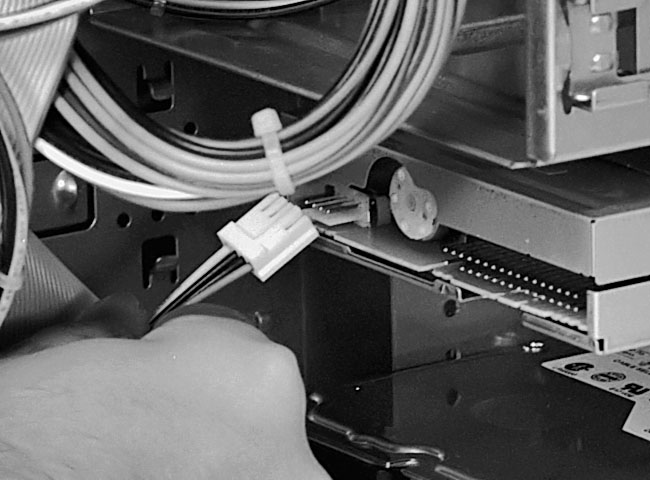
Figure 107: Plugging in the 4-pin floppy power connector We have removed the floppy ribbon cable to get a better look at how the connector is plugged into the drive in the case. For photo clarity, we are also holding the cable by the wires. You’ll hold it by the white end to plug it in. Also, when you remove power cables, try to pull them out by the white part of the connector. Don’t pull connectors by the wires or you may damage a wire. Here the case sits upright.
|
Home -
Table Of Contents - Contact Us
How to Build Your Own PC (/byop/) on PCGuide.com
Version 1.0 - Version Date: May 4, 2005
Adapted with permission from a work created by Charlie Palmer.
PCGuide.com Version © Copyright 2005 Charles M. Kozierok. All Rights Reserved.
Not responsible for any loss resulting from the use of this site.
|


