 |
|
 |
How to Build Your Own PC - Save A Buck And Learn A Lot 9 Chapter 5: Installing Drives 9 Installing the Floppy Drive |
|
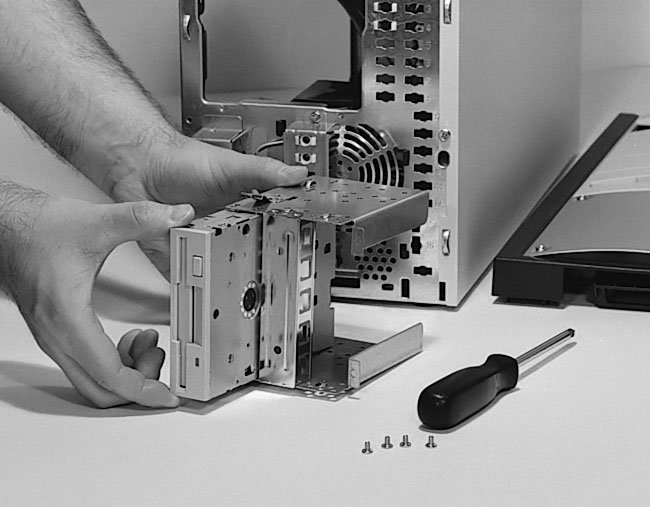
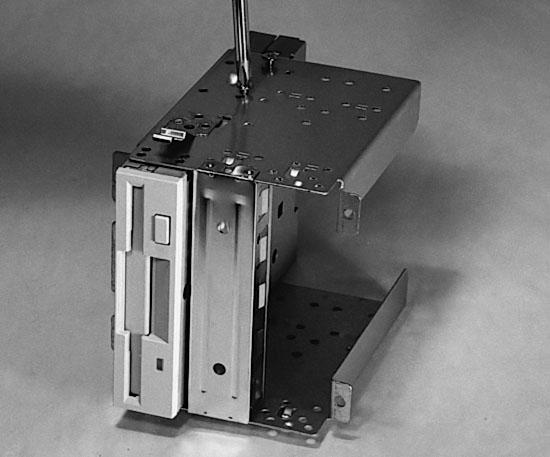
Installing the Floppy Drive in the Drive Cage
Now, insert the floppy drive in its cage in the proper orientation (so you can put a disk in it from the front) and secure the drive by tightening the four screws (Figure 75 and Figure 76).
|
|
|
Home - Table Of Contents - Contact Us
How to Build Your Own PC (/byop/) on PCGuide.com
Version 1.0 - Version Date: May 4, 2005
Adapted with permission from a work created by Charlie Palmer.
PCGuide.com Version © Copyright 2005 Charles M. Kozierok. All Rights Reserved.
Not responsible for any loss resulting from the use of this site.


