 |
|
 |
How to Build Your Own PC - Save A Buck And Learn A Lot 9 Chapter 4: Installing The Mainboard In The Case 9 Examining the Drive Cages |
|


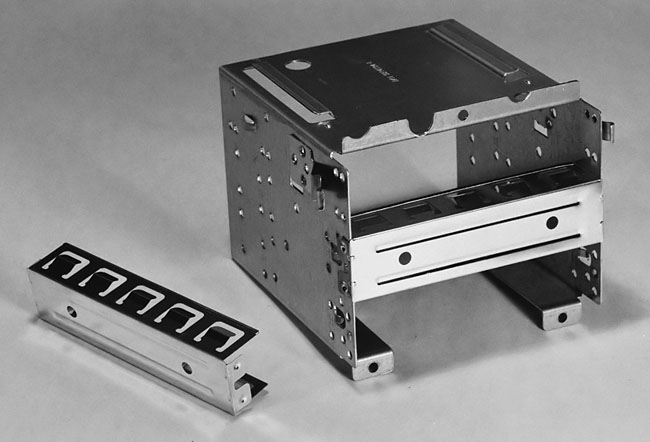
3.5” Drive Cage
Notice that this 3.5" drive cage has three locations, called drive bays, to attach 3.5" drives. Two of the three slots are covered by RF shields which are designed to provide a metal barrier between the inside of the case and the outside world. When installing a drive, you usually remove the RF shield. These particular shields just pop out and are easily replaceable (Figure 49).
|
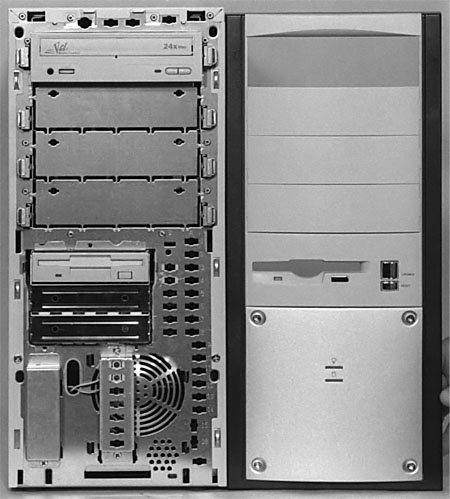
Notice that the top bay matches up with the slot in the front bezel for the 3.5" floppy drive (Figure 50). So, you can’t install the floppy drive in the lower bay unless you want to use a power saw to cut out a hole in the front of the case, which you probably don’t want to do! This provides a fancy looking front for the floppy drive. The actual floppy drive will sit behind this interface. The button on the case to remove a floppy disk will engage the button on the floppy drive, itself, and the light from the LED showing floppy activity on the floppy drive will be channeled to the front.
|
Other cases just have the floppy drive sit flush with the front of the case. Either style is fine.
|
Home - Table Of Contents - Contact Us
How to Build Your Own PC (/byop/) on PCGuide.com
Version 1.0 - Version Date: May 4, 2005
Adapted with permission from a work created by Charlie Palmer.
PCGuide.com Version © Copyright 2005 Charles M. Kozierok. All Rights Reserved.
Not responsible for any loss resulting from the use of this site.