 |
|
 |
How to Build Your Own PC - Save A Buck And Learn A Lot 9 Chapter 4: Installing The Mainboard In The Case |
|


Examining the Drive Cages
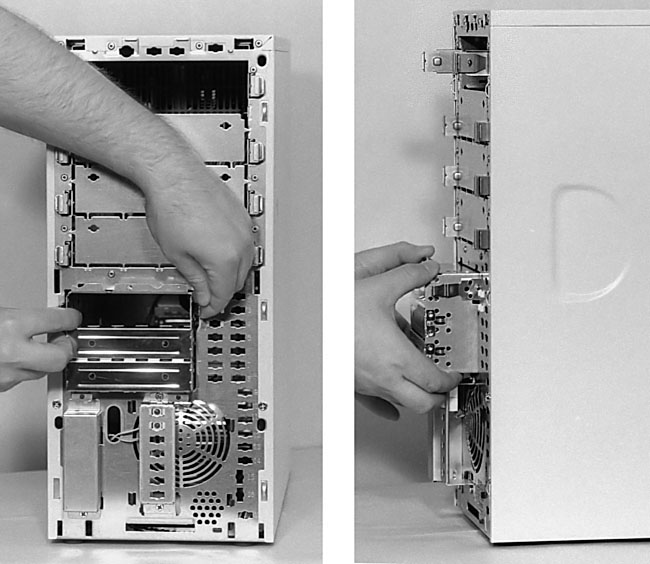
After removing the front panel, we see several things. First is that there is a removable cage for holding a floppy drive, hard drive, and other 3.5" drives. This particular drive cage pulls out easily after disengaging two levers at the sides (Figure 48). The smaller 3.5" drives will be attached to this cage with screws.
|
|
Quick navigation to subsections and regular topics in this section |
|
Home - Table Of Contents - Contact Us
How to Build Your Own PC (/byop/) on PCGuide.com
Version 1.0 - Version Date: May 4, 2005
Adapted with permission from a work created by Charlie Palmer.
PCGuide.com Version © Copyright 2005 Charles M. Kozierok. All Rights Reserved.
Not responsible for any loss resulting from the use of this site.