 |
|
 |
How to Build Your Own PC - Save A Buck And Learn A Lot 9 Chapter 6: Connecting Components 9 Connecting the Ribbon Cables |
|


Installing the CD-RW Ribbon Cable
While each ribbon connector can have a primary and a secondary device on it, most mainboards also support two IDE connectors on the mainboard, which are also referred to as primary and secondary. We’ll connect the secondary IDE to the CD cable first, because it’s between the floppy connector and the mainboard’s primary IDE connector (see Figure 91). Then, we’ll connect the primary mainboard IDE connector to the hard drive. To determine which IDE connector is primary, consult your mainboard manual. Any IDE ribbon cables you connect in the future will be similar to these.
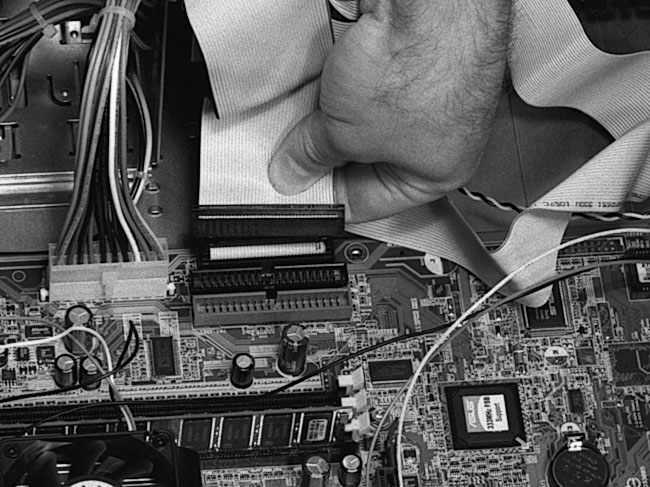
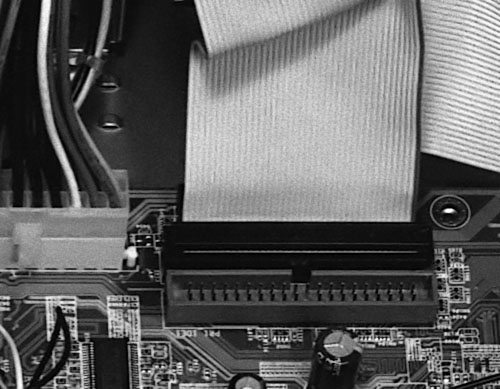
First, connect the 40-pin ribbon cable to the mainboard’s secondary controller (the second IDE connection on the mainboard) as shown in Figure 95 and Figure 96.
|
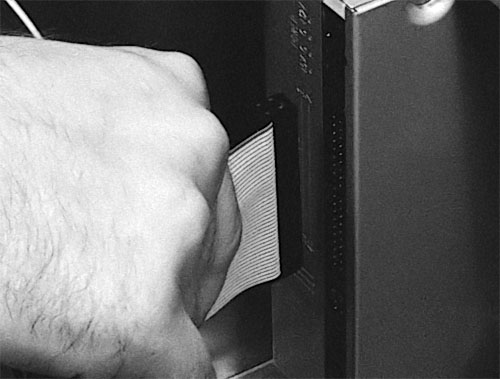
Then, connect the cable to the CD-RW drive (Figure 97). Ignore any connectors in the middle of the cable and use the ends of the ribbon cable (unless you plan to connect a secondary device to the middle cable connector).
|
|
Home - Table Of Contents - Contact Us
How to Build Your Own PC (/byop/) on PCGuide.com
Version 1.0 - Version Date: May 4, 2005
Adapted with permission from a work created by Charlie Palmer.
PCGuide.com Version © Copyright 2005 Charles M. Kozierok. All Rights Reserved.
Not responsible for any loss resulting from the use of this site.