 |
|
 |
How to Build Your Own PC - Save A Buck And Learn A Lot 9 Chapter 5: Installing Drives 9 Installing the Hard Drive |
|


Installing the Hard Drive in the Drive Cage
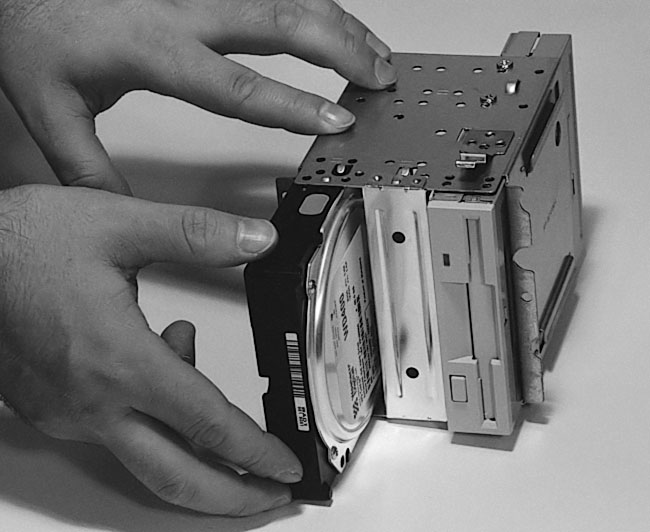
Remove the 3.5" cage from the case, if it isn’t removed already. While we could put the hard drive immediately below the floppy, we’ll skip one bay and place it in the last bay farthest away from the floppy. The extra air space between drives should help with cooling.
Remove the RF shield; or, if the drive sits far enough back, you could just leave the shield in place. It shouldn’t matter. The drive itself will act as a shield. Insert the drive into the cage (Figure 80). Then screw the drive to secure it to the 3.5” cage (Figure 81). The back of the drive has connections for the ribbon cable and power connector. Those should point to the inside of the case.
|
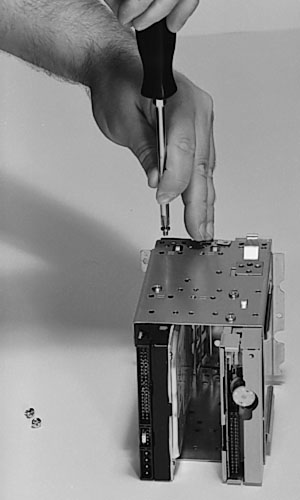
As with the floppy, before screwing in the hard drive, pick up a screw and test it by hand or with very light pressure from the screwdriver. Find three similar screws. It’s best to use screws that came with the hard drive.
|
Home - Table Of Contents - Contact Us
How to Build Your Own PC (/byop/) on PCGuide.com
Version 1.0 - Version Date: May 4, 2005
Adapted with permission from a work created by Charlie Palmer.
PCGuide.com Version © Copyright 2005 Charles M. Kozierok. All Rights Reserved.
Not responsible for any loss resulting from the use of this site.