 |
|
 |
How to Build Your Own PC - Save A Buck And Learn A Lot 9 Chapter 6: Connecting Components 9 Connecting the Ribbon Cables |
|


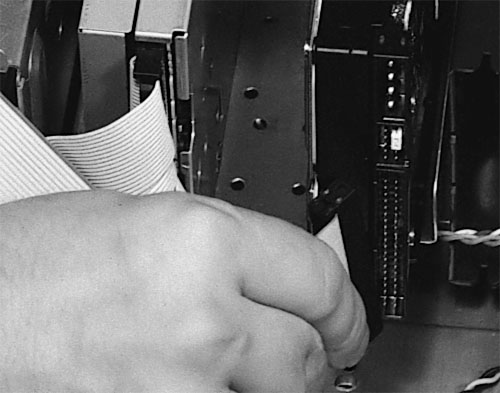
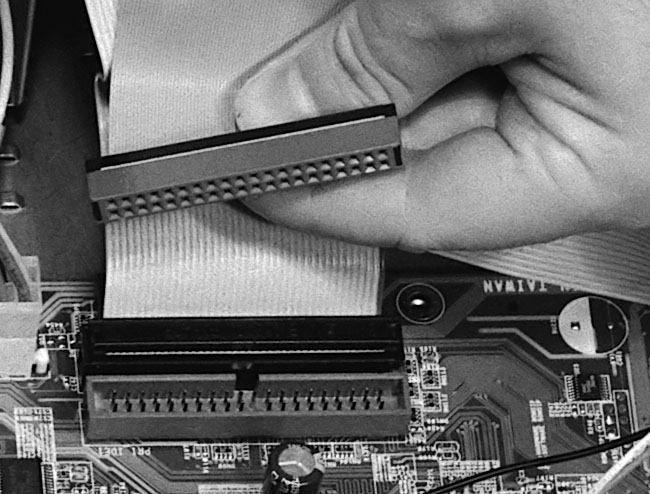
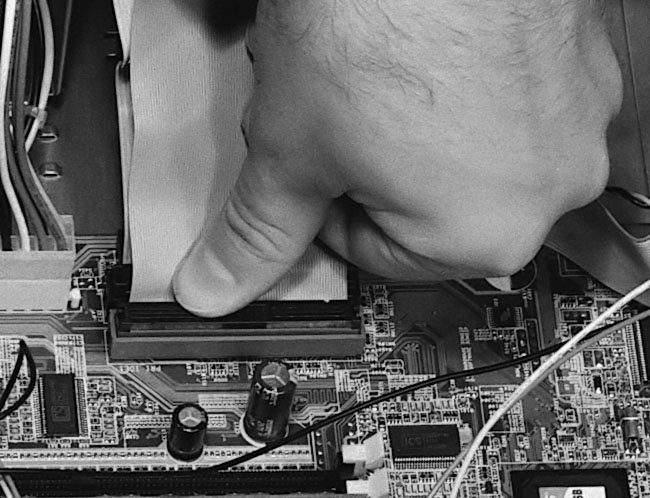
Installing the Hard Drive IDE Cable
Plug in the hard drive ribbon cable to the drive (Figure 98). Then connect it to the mainboard (Figure 99); when properly installed it will appear as in Figure 100. Be sure to seat it fully by pushing it in with your fingers or thumbs. Use the connectors at the ends and ignore the connector in the middle of the cable, unless you wish to install another device such as a secondary device on the cable. If you wish to install a second drive on the cable, it’s usually easiest to connect the middle connector first, before connecting the end connector to the primary drive.
|
|
|
Home - Table Of Contents - Contact Us
How to Build Your Own PC (/byop/) on PCGuide.com
Version 1.0 - Version Date: May 4, 2005
Adapted with permission from a work created by Charlie Palmer.
PCGuide.com Version © Copyright 2005 Charles M. Kozierok. All Rights Reserved.
Not responsible for any loss resulting from the use of this site.