 |
|
 |
How to Build Your Own PC - Save A Buck And Learn A Lot 9 Chapter 8: Testing the System and Completing Assembly |
|


Replacing the Side of the Case and Bezel
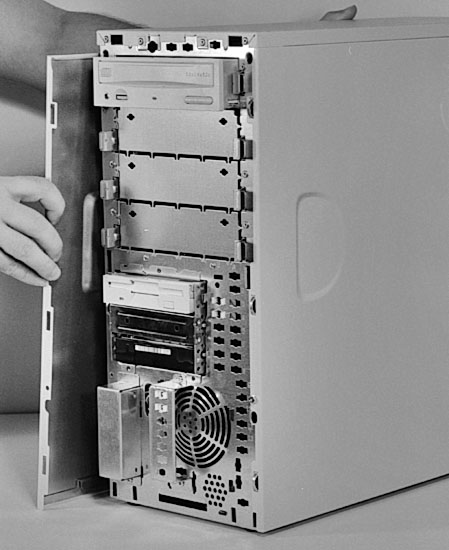
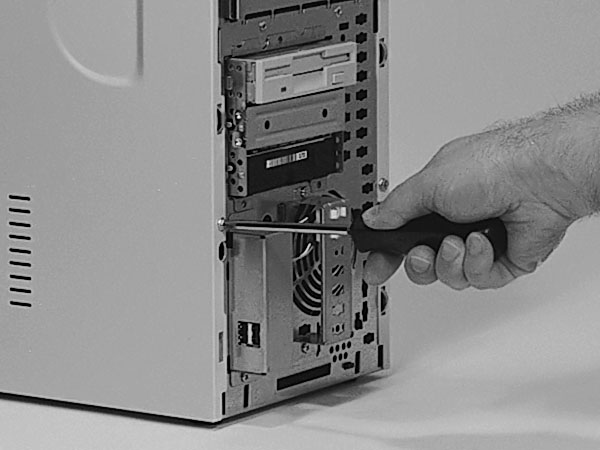
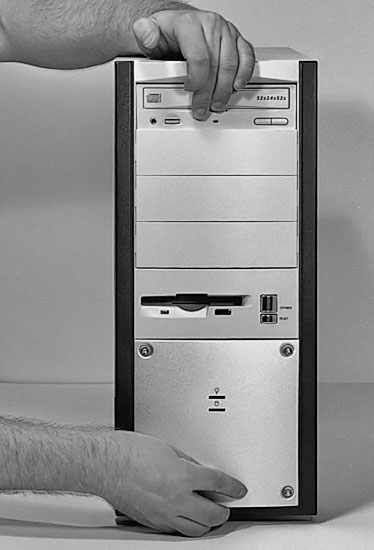
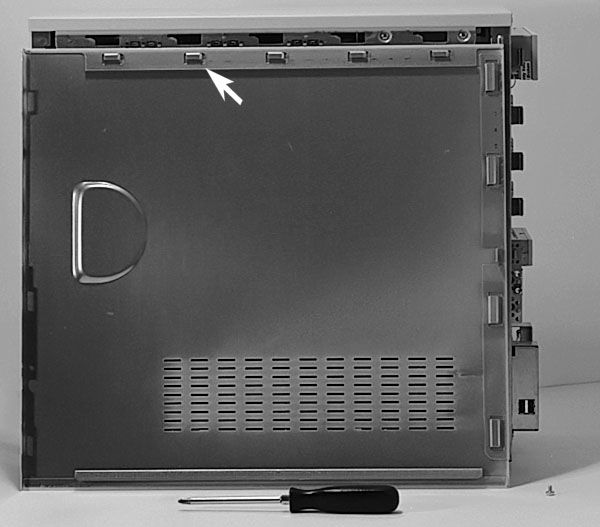
Now that your system is tested and we’ve visually seen that the CPU fan is spinning properly, we can shut down the system and replace the side of the case (Figure 128 and Figure 129) and the bezel (Figure 130). We could also leave the side off temporarily and continue to install an operating system. To replace the side of the case, examine the back of the side carefully (Figure 131). Often, the back of the side will have notches or rails that must engage for the case to close properly.
|
|
|
|
|
Home - Table Of Contents - Contact Us
How to Build Your Own PC (/byop/) on PCGuide.com
Version 1.0 - Version Date: May 4, 2005
Adapted with permission from a work created by Charlie Palmer.
PCGuide.com Version © Copyright 2005 Charles M. Kozierok. All Rights Reserved.
Not responsible for any loss resulting from the use of this site.