 |
|
 |
How to Build Your Own PC - Save A Buck And Learn A Lot 9 Chapter 4: Installing The Mainboard In The Case 9 Test Fitting and Installing the Mainboard |
|
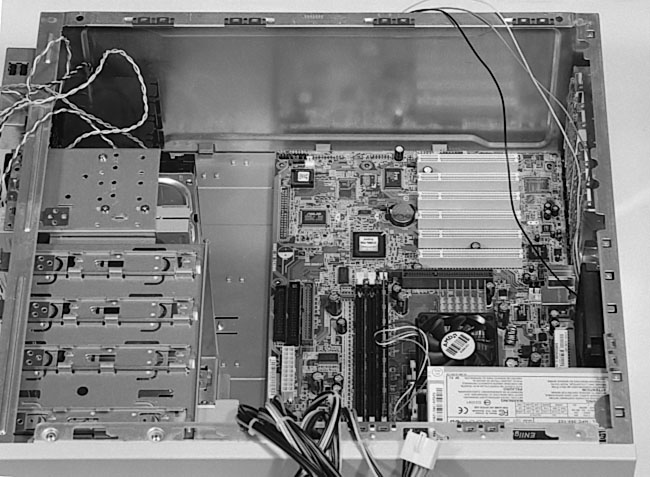
Physical Mainboard Installation Complete
You now have your mainboard installed in the case (Figure 70). Unless you decide to upgrade the mainboard, you’ll probably never need to remove it. If you do, be sure to prepare a clean surface to set the mainboard on and be sure to ground your hands by touching a metal surface before touching the mainboard.
|
|
Home - Table Of Contents - Contact Us
How to Build Your Own PC (/byop/) on PCGuide.com
Version 1.0 - Version Date: May 4, 2005
Adapted with permission from a work created by Charlie Palmer.
PCGuide.com Version © Copyright 2005 Charles M. Kozierok. All Rights Reserved.
Not responsible for any loss resulting from the use of this site.


