 |
|
 |
How to Build Your Own PC - Save A Buck And Learn A Lot 9 Chapter 9: Installing Windows XP |
|


Completing Installation and Booting Windows XP from the Hard Drive
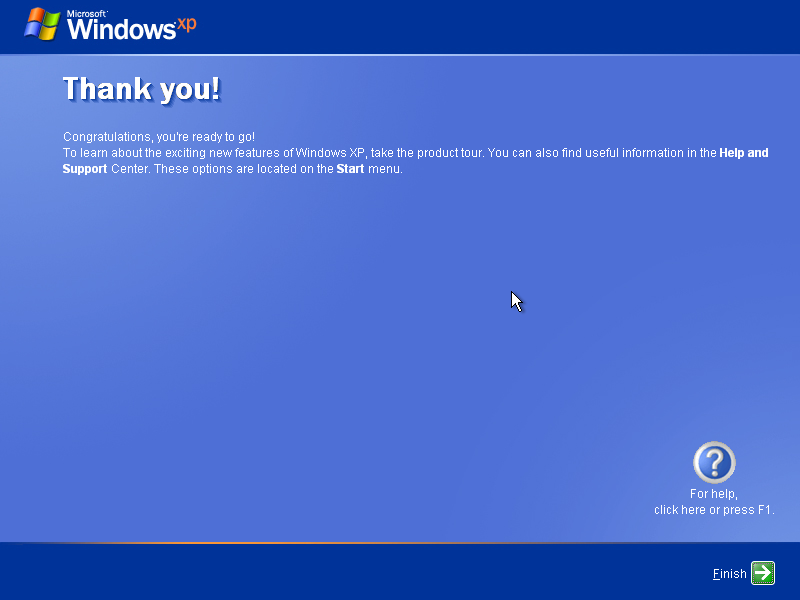
When the computer is finished copying files, you can remove the Windows XP CD and click the little arrow on the “Thank you” screen to restart the computer (Figure 149).
|
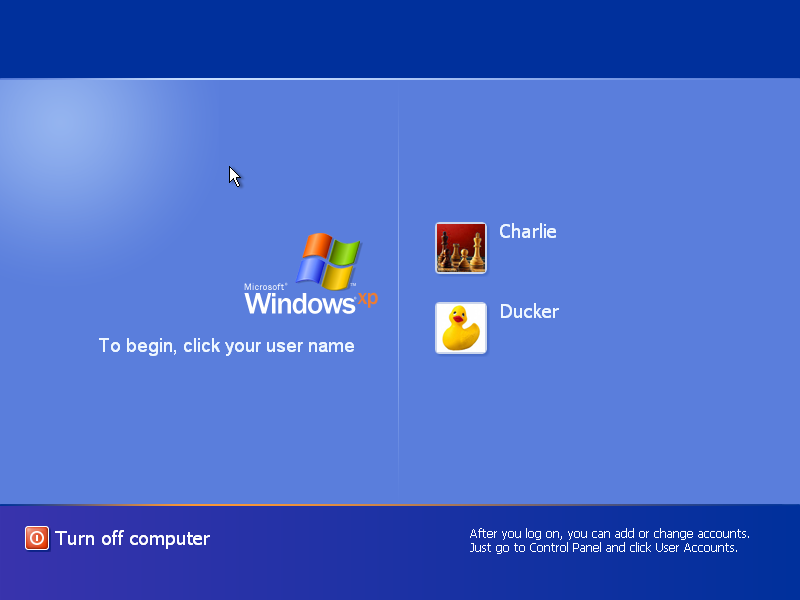
The PC will now boot from the hard drive and show the standard Windows login screen (Figure 150).
|
You’ve now successfully installed Windows XP onto your computer. You can operate your computer and install software. Congratulations!
|
Home - Table Of Contents - Contact Us
How to Build Your Own PC (/byop/) on PCGuide.com
Version 1.0 - Version Date: May 4, 2005
Adapted with permission from a work created by Charlie Palmer.
PCGuide.com Version © Copyright 2005 Charles M. Kozierok. All Rights Reserved.
Not responsible for any loss resulting from the use of this site.